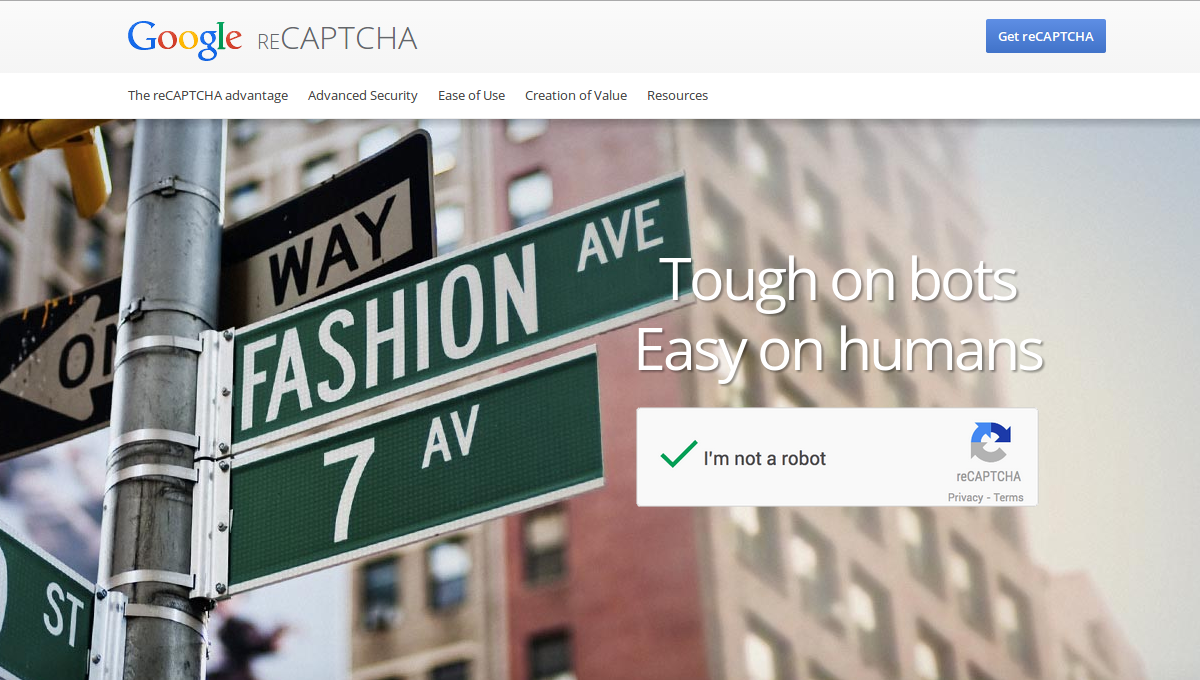
For a site with lots of user generated content, fighting spammers can be a never ending battle. Luckily, we can use a service called reCAPTCHA to help keep spammers off our site. reCAPTCHA works by displaying an image on screen and asking the user to type what they see in the image. This works because, the spammer’s spambots are unable to read the image and unable to proceed with filling out the form. reCAPTCHA is just one of a number of tools we can use to prevent spammers from abusing our websites.
Setup Account
First, we need to create a reCAPTCHA account. Visit the reCAPTCHA website and click the button that says ‘Get reCAPTCHA’.
On the next screen enter your label, domain, owners and check the box that says ‘Get alerts about this site’ then click the ‘Register’ button.
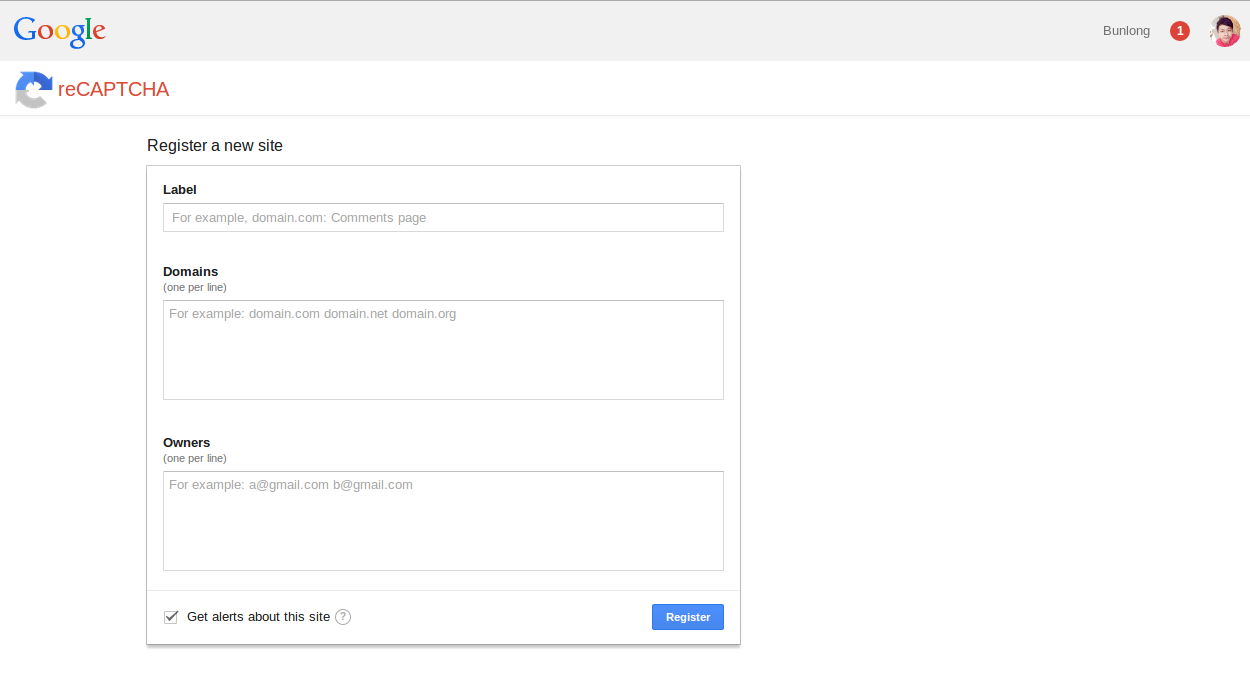
Make sure you copy the public key and private key and save it somewhere, you will need this information when adding reCAPTCHA to your Rails application.
Setup Rails Application
Now we have an account, it’s time to set up our Ruby on Rails application. The first thing we will need to do is include the recaptcha gem in our Gemfile. Add the following lines to your gemfile. Note that the bcrypt-ruby gem is used for our example user signup form. You don’t have to include this in your application if you aren’t using it for user authentication.
1 2 | |
Next run a bundle install to install the gem:
1
| |
Next create an initializer for recaptcha that will contain the public and private keys we mentioned earlier. Create a new initializer called recaptcha.rb and add the code listed below, make sure to modify it to contain your public and private keys.
1 2 3 4 | |
Next create a model called User that we will use to test the reCAPTCHA functionality. Run the following commands to create the user model:
1 2 | |
Next, open your User model and modify it:
1 2 3 4 5 | |
Next create a couple controllers that will handle our user input. The first controller, Home, will provide a simple landing page that contains a sign up link. The second controller, Users, will process the actual user signup request. Run the commands below to create the controllers.
1 2 | |
Now edit our routes file to set up a few routes for the controllers we just created. Modify the routes file so that it looks like the code listed below, being sure not to overwrite your application name on the first line:
1 2 3 4 5 | |
Next open up your home/show view and modify it so that it looks like the code listed below:
1 2 3 4 5 | |
Next open up the users/new view and modify it so that it looks like the code listed below:
1 2 3 4 5 6 7 8 9 10 11 12 13 14 15 16 17 18 19 20 21 22 23 24 25 26 27 28 29 30 31 32 | |
Most of the code is self explanatory, however, you’ll notice the recaptcha_tags method being called. This method is responsible for rendering the reCAPTCHA.
Next open up our users controller and add some code to handle the request. Modify your users controller so that it looks like the code listed below.
1 2 3 4 5 6 7 8 9 10 11 12 13 14 15 16 17 18 | |
Almost done! Now lets open up our users/create view and add the following code.
1 2 3 4 | |
Now if you start a rails server and navigate to http://localhost:3000 we will see a sign up link. if you click on the sign up link you will be presented with a sign up form, complete with a captcha to fill out. You’ll notice that filling out the captcha wrongly results in a validation error message, and filling out the correct information allows the user signup to proceed.
So far so good, That’s it!!! See ya!!! :)